Table
The table node is used to connect a single table to a data source node. Unlike the Multi Tables node, many nodes can be connected to a single data source, with each node representing a different table. A range of operations and functions can then be connected to any given table node in order to perform any required data cleansing or manipulation on the data set before loading it into a target.
Table nodes are a good option if your data set contains tables on which you need to perform any kind of data preparation; the alternative to the table node is the tables node, which does not support data cleansing processes in the Data Flow.
Configure Table Nodes
There are 2 methods of adding Table nodes to the Data Flow.
Method 1
The first method is to select all the required tables from the Properties panel of the data source node, and then click 'Add Tables' (green highlight below):

You will see that each selected table will now be represented by its own node:

Method 2
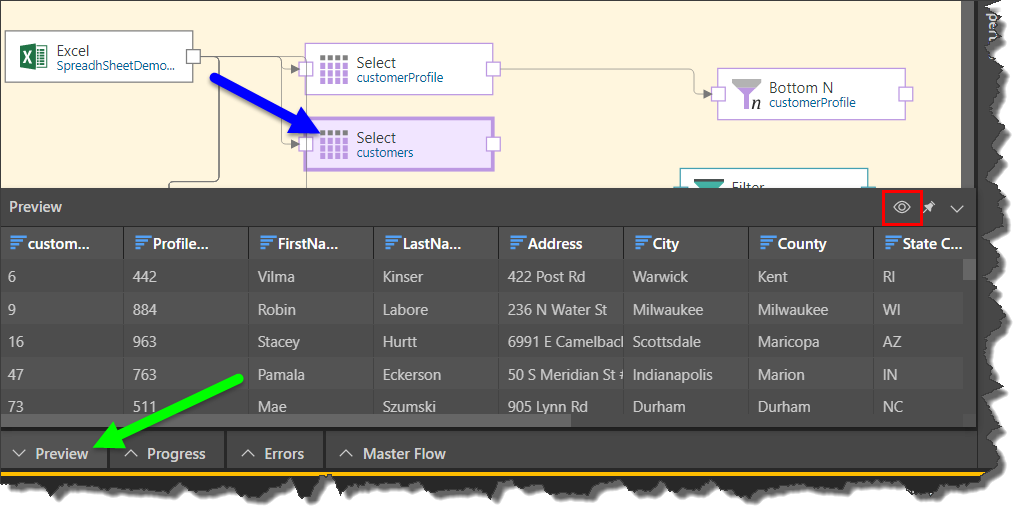
The second method requires you to add each Table node individually, connecting them to the data source node (green arrow below), and to then inject the relevant table (blue arrow) into each Table node from the Properties panel. You can also rename the table from each node (red highlight).

Preview Result Set
The result set of each table can be previewed by clicking on the relevant node, and then clicking the preview icon from the node's Properties panel, or from the Preview panel. By default, the preview is limited to the first 50 rows, but this can be changed from the Preview Size drop down in the ribbon.
- Click here to learn more about the Preview panel.
Column Selection
Expand the Column Selection window to update the column selection for the given table. By default, all columns in the table are selected but you can remove columns by deselecting them. Columns that have been deselected will not be copied to the new data model.
Variables
Expand the Set Variable Values window to pass a variable to the node. To do this, click the plus sign and then select the relevant variable, the aggregation type, and the relevant column.
In this example, the table contains the income column on the left in the image below. We want to create a variable that will be used to load only rows where the income was 75000 and above (as in the column on the right).

To accomplish this, a variable is created named VarIncome, where the value is set to 75000:

This variable is then injected into the table node where the Income column is located:

Finally, the Filter node is connected and used to filter the table by the Income column, using the variable:

Description
Expand the Description window to add your own description to the node's properties. This is useful for keeping track of the ETL process, especially if multiple users are working with the same ETL.
Edit Table Nodes
To edit a Table node, click on it and go to its Properties panel. Here you can update the node's preview and its various settings.

